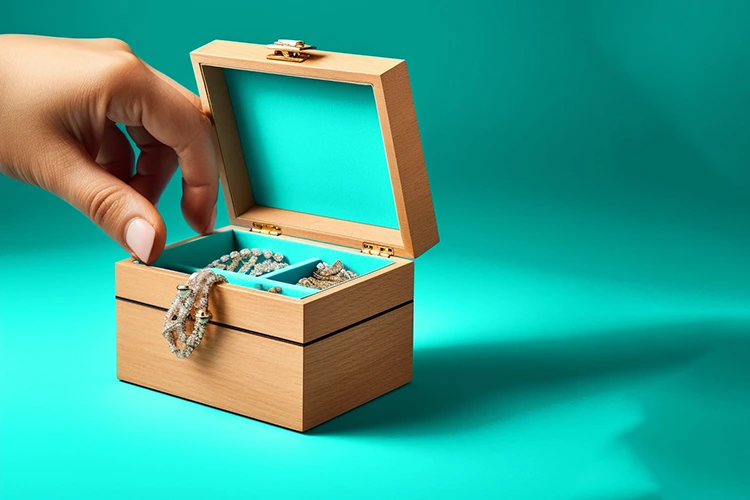
Step-By-Step Guide: How to Make a Jewelry Box
Making your own jewelry box is not just a creative endeavor; it’s a rewarding experience that allows you to tailor a storage solution to your unique style. In this step-by-step DIY guide, you’ll learn how to build jewelry box designs from scratch.
What You Will Learn
Why Build a DIY Jewelry Box?
A jewelry box is more than just a container; it’s a haven for your most cherished pieces. While shop-bought jewelry boxes may serve their purpose, there’s something truly exceptional about crafting your own. The DIY approach allows you to infuse your personality into every detail, from the choice of wood to the finishing touches. The hands-on jewelry box making process not only guarantees a one-of-a-kind result but also provides a sense of accomplishment and pride as you witness your creation come to life.
What You Need to Get Started Building a Jewelry Box
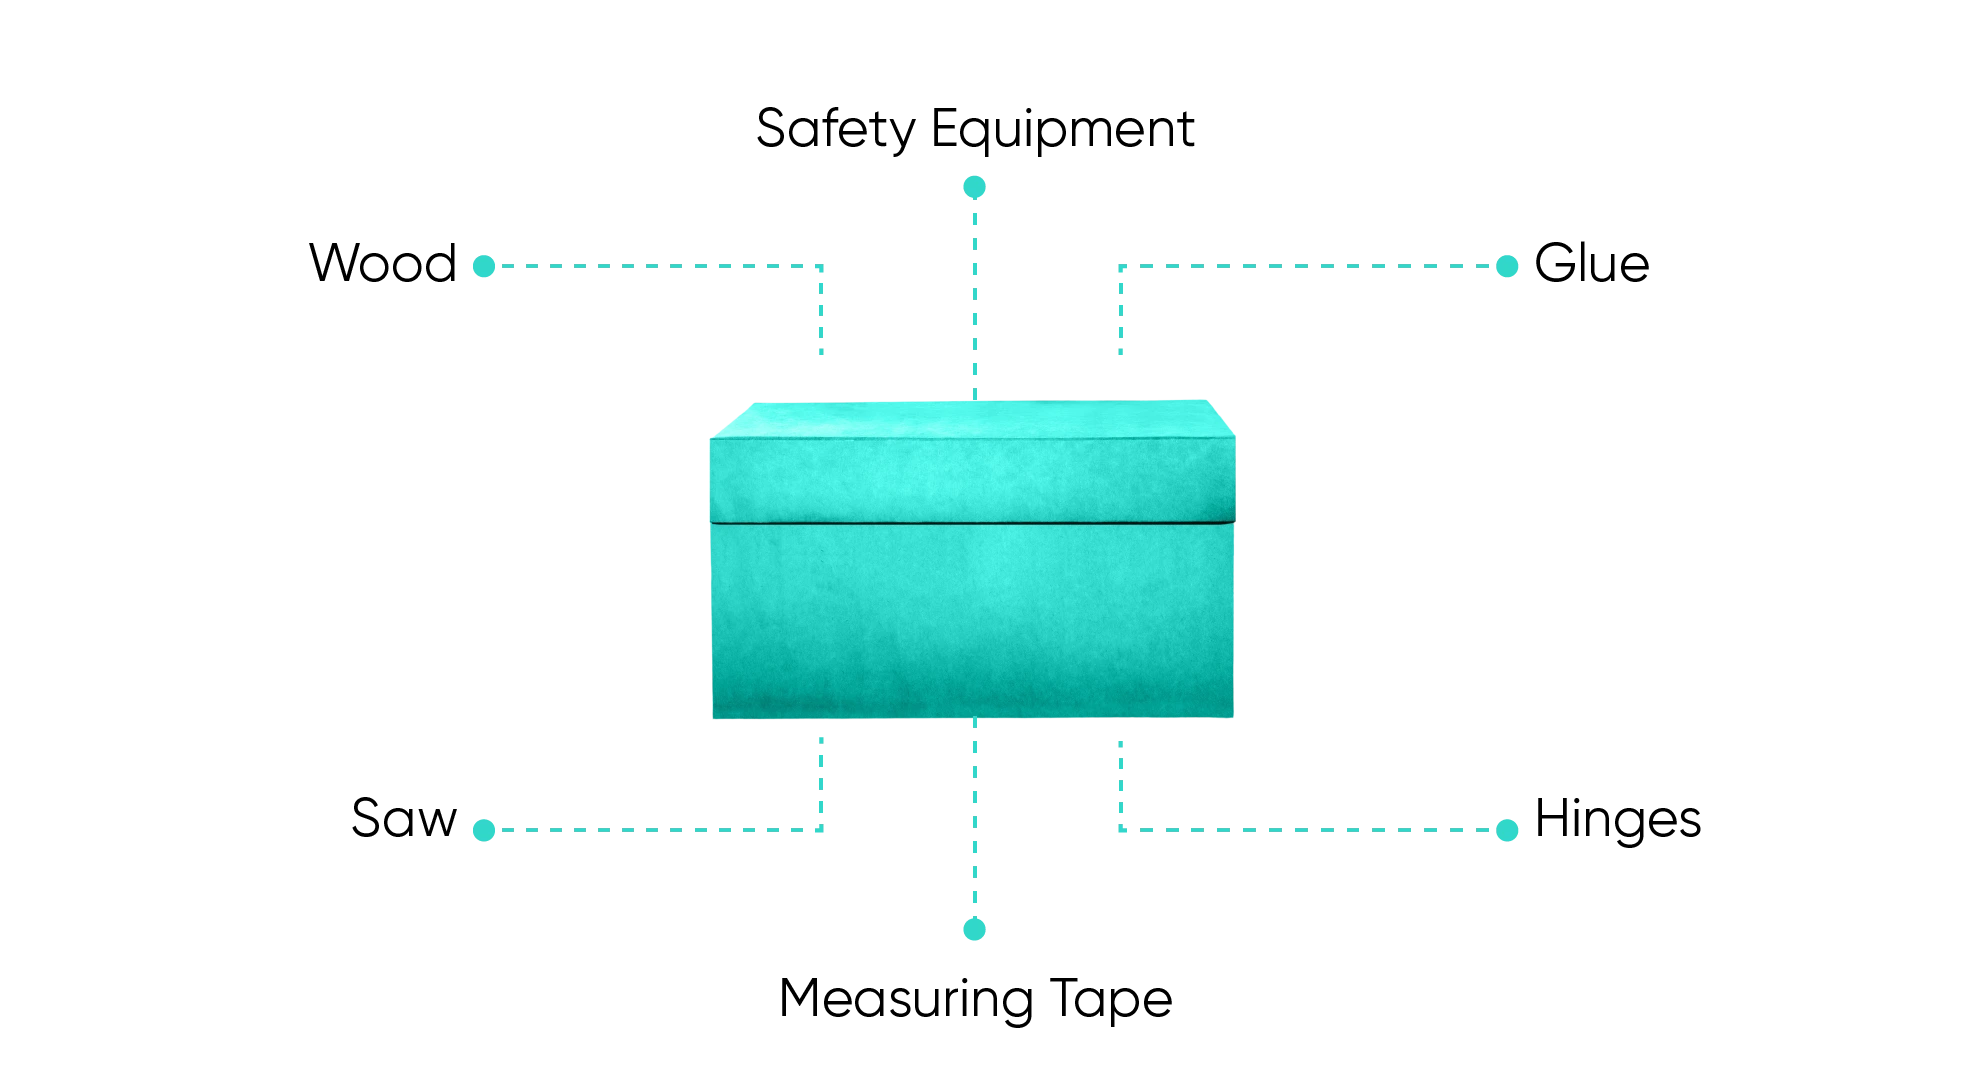
When creating a personalized jewelry box, first gather all the essential materials and tools.
Here’s what you’ll need to make your jewelry box.
- Wood
For a sturdy and visually appealing jewelry box, select the right type of wood. Opt for hardwood boards like oak, cherry, or walnut for their durability and beautiful grain patterns. These woods not only provide structural integrity but also offer an elegant finish.
- Glue
Choose high-quality wood glue, which will be especially important for securing mitered corners and creating a seamless look.
- Saw
A woodworking saw is important for accurate and clean cuts. A miter saw or table saw is ideal for achieving precise angles, especially when working on mitered corners. Ensure your saw is sharp and in good condition before you begin.
- Hinges
For a functional lid, the right size hinges are key.
- Measuring Tape
Accuracy is essential in any woodworking, and a measuring tape is indispensable for ensuring precise dimensions. Double-check your measurements to avoid mistakes during the cutting and assembly stages.
- Safety Equipment
Prioritize safety throughout your project by wearing appropriate safety gear, including safety glasses, ear protection, and dust masks.
How Do You Make a Homemade Jewelry Box? Planning Ahead
Once your tools are assembled, you might be eager to jump into building your box right away. However, there are a few things left to do.
Whether you’re a woodworking enthusiast or a beginner eager to explore DIY projects, here’s how to ensure your jewelry box turns out functional and aesthetically pleasing.
- Finding Jewelry Box Plans
When designing your jewelry box, there’s a wealth of inspiration available via various jewelry box plans. These plans often come with detailed instructions, providing a blueprint for your project.
If you’re new to woodworking or prefer a straightforward project, opt for simple DIY jewelry box designs with fewer intricate details. Look for plans and tutorial videos focused on basic box structures, allowing you to master fundamental skills before advancing to more complex designs.
- Practicing Mitered Corners
Mitered corners are where two pieces of wood meet at an angle. When executed accurately, they provide a clean and seamless appearance.
For flawless mitered corners, invest time in setting up your tools correctly. Use a reliable miter saw and pay attention to the angle settings.
Additionally, practice on scrap pieces before working on your actual project to refine your technique. Applying even pressure during cutting and using a sharp blade will make for clean, smooth mitered corners.
- Creating a Cut List
Before cutting your wood, carefully determine each box component’s dimensions, including the dimensions for the long sides, top panel, bottom board, lid, and any additional features.
Once you’ve determined the necessary width and length for each, mark and measure the wood accordingly. Use a measuring tape to ensure your markings are precise.
Building the Jewelry Box
Now that you’ve properly planned your jewelry box, it’s time to finally bring your vision to life.
Here’s how to build your jewelry box:
- Cutting the Wood
Use a saw to make accurate cuts, adhering to the dimensions outlined in your previously prepared cut list.
- Gluing the Pieces Together
Carefully apply glue to the surfaces to be joined, ensuring even coverage. The adhesive prevents potential gaps between two boards and weaknesses in the structure.
- Using Clamps to Secure the Structure
Once all the wood boards are glued, use clamps to secure the pieces. Allow sufficient time for the glue to dry and set, following the manufacturer’s recommendations.
- Adding Hinges
As you attach the hinges, pay attention to the lid spacing. Ensure the lid opens and closes smoothly, without any interference or misalignment.
- Incorporating a Lid
Crafting a lid that fits snugly is essential. Double-check the dimensions and make any necessary adjustments to ensure a perfect fit with all top edges. A well-fitted lid not only adds a professional touch but also protects the box’s contents.
- Aligning the Grain for Visual Appeal
For an extra-special touch, align the grain of the lid with that of the rest of the box. This small detail adds a level of sophistication to your DIY jewelry box.
With these steps, you’re well on your way to making a jewelry box.
Finishing Touches
Once the structural components of your DIY jewelry box are in place, it’s time to focus on the finishing touches that will elevate its appearance and functionality.
- Sanding the Jewelry Box: Begin by carefully sanding the edge of your jewelry box. Using fine-grit sandpaper, smooth out any rough or uneven surfaces.
- Preparing the Surface for Finishing: Before moving on to the next steps, thoroughly clean the surface of the jewelry box to remove any dust or debris.
- Staining or Painting Options: Consider staining the wood to enhance its natural beauty, or choose paint that complements your style and decor.
- Adding Drawers and Trays for Organization: Tailor your jewelry box to meet your storage needs by incorporating drawers and trays. You can add a groove to the bottom wood board to insert drawers or trays. Use different compartments for rings, a watch, earrings, or necklaces, creating a dedicated space for each piece.
Personalizing Your Jewelry Box
You can further transform your jewelry box into a cherished keepsake by exploring engraving options. For example, you could consider an engraved sign, a meaningful date, or a short message on the lid or interior of your box. This personal touch adds sentimental value and makes the jewelry box a unique and thoughtful gift.
You can also elevate the visual appeal of your jewelry box by incorporating decorative elements. This could include inlay work, small embellishments, or a contrasting wood design.
Once you’re on the other side of this creative project, you’ll not only have a functional and beautiful jewelry box, but also a sense of accomplishment.
Protect Your Investment
Now that we’ve covered everything you need to know on how to build a jewelry box, from precise mitered corners to the careful application of glue, you should be well-prepared to start and complete your next DIY project.
One thing you shouldn’t DIY? Your jewelry protection. BriteCo offers reliable and cost-effective jewelry insurance that covers loss, theft, and damage globally. With BriteCo, you’ll rest easy knowing that your jewelry is fully protected.
Contact us today or use our online tool to receive a personalized quote.
Related Articles:
How to Pick the Perfect Piece of Permanent Jewelry
Is Jewelry a Good Investment?
How long does permanent jewelry last?
These 90s Jewelry Trends Are Back!
Jewelry Box Ideas to Upgrade Your Jewelry Storage
A Comprehensive Guide to Finding the Best Jewelry Safe
What is Sustainable Jewelry?
What to Look for in the Best Travel Jewelry Case
Appraisal Tool:
The Easiest Way to Get a Professional Jewelry Appraisal Valuation!

UP NEXT: How Does Location Affect Jewelry Insurance Cost?

Author